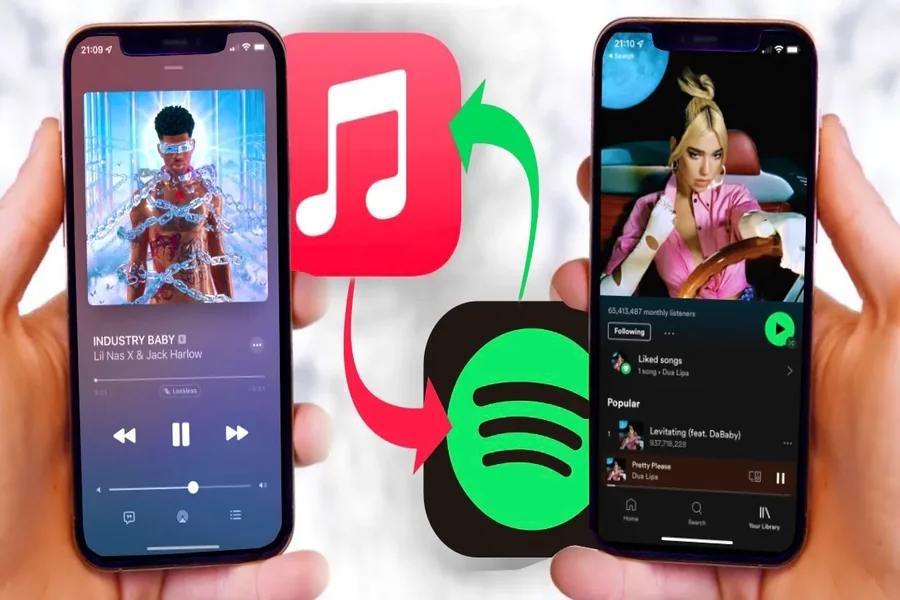
In today’s digital music landscape, our playlists reflect our tastes, moods, and evolving preferences. Whether switching music services or backing up cherished mixes, transferring playlists without losing any tracks can feel daunting. Fortunately, Spotify transfer tools simplify this process. In this guide, we’ll explore how to transfer your playlists seamlessly, keeping every song intact and ensuring your music experience remains uninterrupted across platforms.
Understanding Playlist Transfer
Transferring playlists can seem straightforward, but it involves more than just moving files from one location to another. Playlists are not just collections of songs: they often include metadata like album art, play counts, and even specific song versions that might differ across platforms.
When we talk about playlist transfer, we’re essentially discussing the migration of our meticulously curated lists from one music service to another without losing any of the precious tracks or details. Understanding the underlying structures of playlists, like how different platforms manage and store music, is crucial to ensuring a smooth transition.
Whether we’re moving from Spotify to Apple Music, or any other platform, knowing what to expect makes the process less intimidating.
Common Challenges in Playlist Transfers
Even though the technological advancements we have, transferring playlists often comes with its fair share of challenges. Here are some common issues we encounter:
- Song Availability: Not all tracks are available on every service. A song might be in our playlist on Spotify but not on Tidal, for example.
- Different Versions of Songs: Whether it’s a live version versus a studio recording, different platforms may offer various renditions of the same song, which can lead to confusion in our playlists.
- Metadata Loss: Metadata, like song order and additional details, is often lost during manual transfers, leading to a jumbled listening experience.
- Service Limitations: Some services may have limitations on the number of songs that can be imported or may even charge for certain transfer functionalities.
Understanding these challenges can help us prepare better and make strategic choices during our transfers.
Methods for Transferring Playlists
There are a couple of effective methods we can use to transfer playlists, each with its own set of pros and cons.
Using Third-Party Tools for Playlist Transfers
Third-party tools have become a go-to for many of us looking to simplify the playlist transfer process. Popular tools like TuneMyMusic, Soundiiz, and MusConv offer streamlined services to transfer playlists between various platforms seamlessly.
These tools typically allow us to log in to both the source and destination services, and with a few clicks, we can transfer entire playlists without worrying about losing tracks. The added benefit? Many of these tools keep track of song versions and metadata, ensuring a comprehensive transfer.
Manual Transfer: Step-by-Step Guide
For those of us who prefer a hands-on approach or want to ensure everything is correct, a manual transfer is feasible:
- Create a New Playlist: Start the process by creating a new playlist on the destination platform.
- Open Your Original Playlist: Keep the original playlist open for reference.
- Add Songs Individually: Go through each song on your original playlist and search for it on the new platform. Once found, add it to your new playlist.
- Double-Check Metadata: If we care about the order or specific details, we can manually adjust those in the new playlist as we go.
Transferring Between Different Music Services
Different music services have varying ecosystems, which can complicate the transfer process even more. While services like Apple Music, Spotify, and Amazon Music all offer rich libraries, their compatibility with each other’s playlists can be inconsistent.
When transferring between services, we should be aware of each platform’s unique traits. For instance, both Spotify and Apple Music have distinct ways of handling track metadata and may even provide different versions of tracks. If we are moving our playlists, it is essential to double-check each track to ensure it’s the correct version.
Also, it’s wise to consult comparison charts or community forums for tips specific to the services we are transitioning between. This preparation can save us a lot of frustration down the line.
Best Practices for Successful Playlist Transfers
To ensure a smooth playlist transfer, we recommend following these best practices:
- Backup Your Original Playlist: Before initiating any transfer, create a backup of your original playlists, either by exporting them or taking screenshots. This way, all your hard work won’t go to waste.
- Research Your Tools: If you’re using third-party tools, do some research to find the most reliable options and read user reviews to avoid any surprises during the transfer process.
- Check for Song Updates: Sometimes, tracks may have been removed or updated by the music service. Before starting the transfer, check to see if any essential songs have been affected.
- Take Your Time: While it might be tempting to rush through, taking our time can prevent mistakes that could lead to losing tracks or metadata.
Following these best practices can streamline our transfer experience and make it much less stressful.
Conclusion
Transferring playlists might seem daunting, but with the right approach and tools, it can be a straightforward process. Whether we opt for third-party services or take the manual route, understanding the nuances of playlist transfers helps ensure that our music experience remains intact. As we navigate the world of digital music, being informed empowers us to make the best choices for our playlists. Let’s embrace the transition, knowing that our music will follow us wherever we go.