Creating high-quality visuals used to take a whole team of designers and hours of manual labor. You had to learn complex software and spend years practicing how to cut out backgrounds or balance colors. Today, the process is much faster because smart technology does the heavy lifting for you. Using an ai photo editor allows you to skip the tedious parts of design and get straight to the creative results. You can now finish a project in minutes that used to take an entire afternoon.
Speed is the most important factor for modern content creators who need to post every day. If you are struggling to keep up with the demand for fresh images, you can use gpt image 2 free to generate unique art instantly. This tool takes your written ideas and turns them into visual reality without needing a camera or a paintbrush. By combining generation and editing, you build a workflow that is both efficient and professional.
Step 1: Define Your Visual Concept
The first step in any successful workflow is knowing what you want to create. You should start by writing down the main elements of your image. Think about the colors, the mood, and the subjects you want to include. Having a clear plan prevents you from wasting time on designs that do not fit your brand or project goals.
Once you have a concept, you can use a prompt to describe it. A good prompt is descriptive but simple. Instead of just saying dog, you might say a small golden retriever sitting in a sunny park. This level of detail helps the technology understand exactly what you need. It sets the foundation for the rest of your visual work.
Step 2: Generate Your Base Image
Now it is time to bring your idea to life. You will enter your prompt into the generator to see what it creates. Sometimes the first result is perfect, but other times you might need to tweak your words to get it just right. This part of the process is about exploration and finding the best starting point for your project.
You don’t need to worry if the generated image has a few small flaws. The goal here is to get the composition and the main subjects in place. You are looking for a strong base that you can refine later. This saves you from having to search through thousands of stock photos that never quite match what you have in mind.
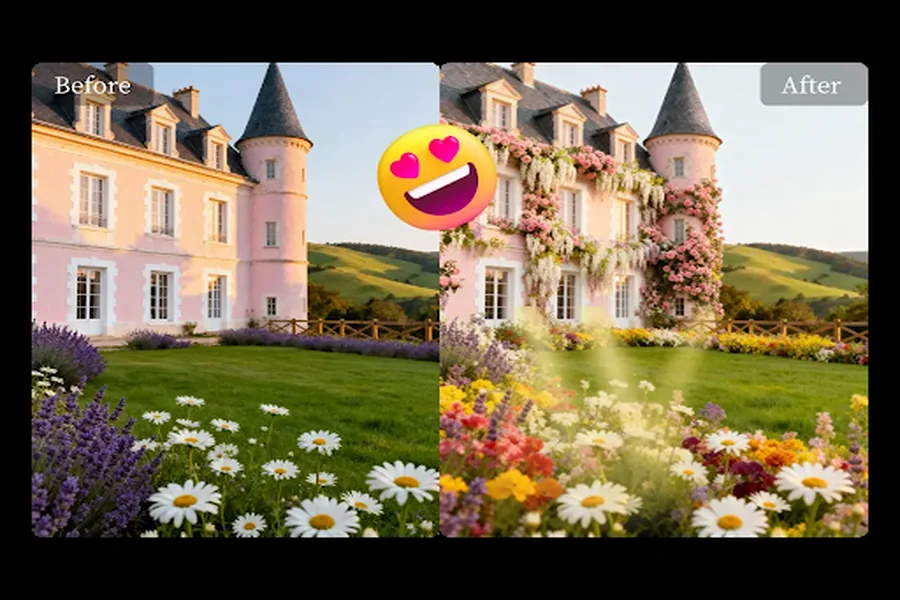
Step 3: Clean Up and Refine
After you have your base image, you need to polish it. This is where you remove any unwanted objects or fix the background. Most images generated by software need a little bit of cleaning to look professional. You might find a stray shadow or a blurry spot that needs to be cleared away.
Using specialized tools for this stage makes the work much easier. You can click on an object you don’t like and watch it disappear. This keeps your workflow moving fast because you aren’t stuck using a tiny brush to fix every pixel. You can also adjust the lighting and contrast to make the image pop.
Step 4: Scale and Export
The final step is making sure your image works for its intended platform. An image for a website needs to be a different size than an image for a social media post. You should check the dimensions and the file size to ensure everything loads quickly and looks sharp on all screens.
You can use automated scaling tools to resize your work without losing quality. This is much better than just stretching a small photo, which makes it look blurry. Once you are happy with the size, export the file in the right format. Usually, a high-quality JPG or PNG is the best choice for most online uses.
Comparison of Design Workflows
Tips and Best Practices
To get the best results, you should always use high-resolution settings from the start. It is much easier to make a large image smaller than it is to make a small image larger. Starting with a high-quality file ensures that your final product looks professional on any device.
Another great tip is to keep your prompts consistent. If you are creating a series of images for a blog or a social media campaign, use similar keywords in every prompt. This helps maintain a unified look across all your visuals. You can save your favorite prompts in a text file so you can reuse them whenever you need a new image in that style.
You should also pay attention to the lighting in your images. Even the best AI tools sometimes struggle with consistent light sources. If you notice a shadow going the wrong way, use your editor to fix it. Small details like this make a huge difference in how people perceive your work.
Finally, don’t be afraid to experiment with different styles. You can ask for a 3D render, a watercolor painting, or a realistic photograph. Trying new things helps you find a unique visual voice that stands out from the crowd. The more you play with the tools, the better you will get at predicting how they will react to your instructions.
Common Mistakes to Avoid
One big mistake people make is over-editing their photos. It is easy to get carried away with filters and effects until the image looks unnatural. You want your visuals to look clean and professional, not messy. Stick to a few key adjustments and know when to stop.
Another common error is using prompts that are too vague. If you only give the tool one or two words, it has to guess what you want. This often leads to results that are not useful. Be specific about the colors, the setting, and the lighting to get exactly what you need.
Many users also forget to check the edges of their subjects after removing a background. Sometimes a small outline of the old background remains. This makes the image look like a cheap cutout. Always zoom in and check the borders to make sure the transition is smooth and clean.
Ignoring the aspect ratio is another mistake that can ruin your workflow. If you need a horizontal image for a website header but you generate a square one, you will have to crop out important parts of the design. Decide on the shape of your image before you start the generation process.
Summary of the AI Workflow
Using these tools changes the way you think about design. Instead of being a technician who spends all day clicking buttons, you become a director who guides the technology. This shift allows you to produce more work in less time without sacrificing quality.
The combination of generation and smart editing is the future of visual content. You can take an idea from your head and put it on a screen in a matter of minutes. This opens up new possibilities for small business owners, bloggers, and social media managers who don’t have a big budget for design.
By following the steps in this guide, you can build a workflow that works for you. Start with a clear concept, generate a strong base, and then use your tools to polish the final result. You will find that your creative process becomes much more enjoyable when you aren’t fighting with your software.
The most important thing is to keep practicing. Every time you use these tools, you learn something new about how they work. Over time, you will develop a fast and reliable system for creating all the visuals you need for your projects. Focus on the results and let the technology handle the hard parts.