Living with pets is rewarding but also presents cleaning challenges. Pet accidents can occur unexpectedly and demand immediate response. While robot vacuums are popular household tools, their effectiveness in handling such messes is often questioned—can they clean safely, or will they spread the mess? Certain modern models, like eufy’s dry wet cleaner robot, offer features that make them a safer and automated option for pet owners. This article explores how to use robot vacuums for pet accident cleanup while protecting both your floors and the device.
Step-by-Step Assisted Cleaning Process
Step 1: Manual Solid Waste Removal and Initial Wiping
The first and most important step is to handle any solid waste manually before involving your robot. Using disposable gloves, carefully remove the waste with tissues or paper towels to avoid spreading it. This prevents your robot vacuum from accidentally dragging solid debris around the floor, which can lead to more extensive cleaning needs. After removing the waste, a quick initial wipe with a damp disposable cloth helps reduce residue. It may feel tempting to let the machine take over right away, but starting with this manual step ensures a cleaner and safer process for both your home and the device.
Step 2: Applying Pet-Safe Disinfectants Manually
Once the solid waste is cleared, apply a pet-safe disinfectant to the affected area. Spray lightly and let the solution sit for a few moments to break down bacteria and odors. Wiping gently with a microfiber cloth or disposable towel helps to ensure the disinfectant reaches the surface effectively. This step not only keeps your floors hygienic but also protects your robot from coming into contact with strong stains or lingering contaminants. Pet owners often overlook this stage, but consistent disinfecting prevents long-term damage to flooring materials. By doing this manually, you provide an added layer of safety before automation steps in.
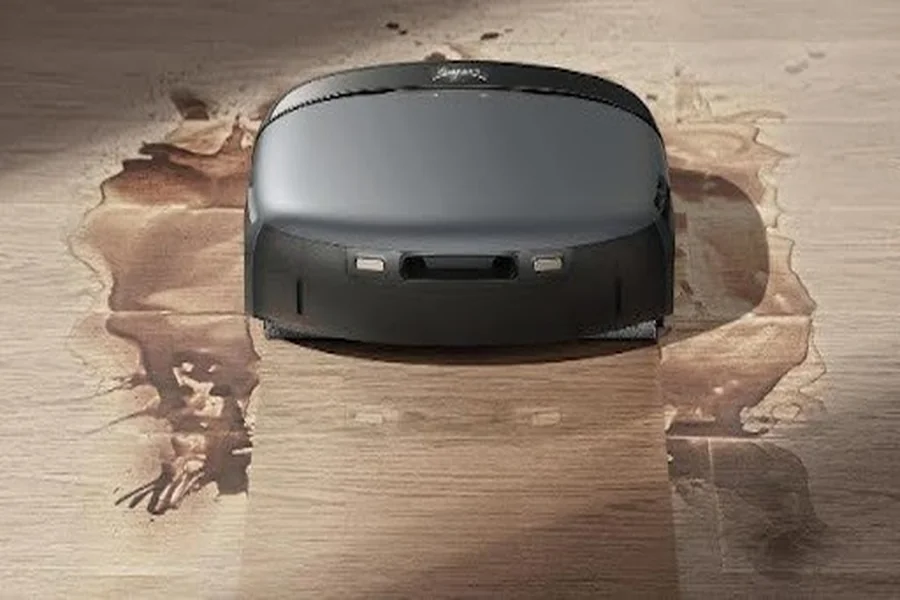
Step 3: Using a Robot for Residual Moisture Absorption
With the area pre-treated and mostly cleaned, your robot vacuum can now play its role. Models that combine vacuuming and mopping, such as eufys dry wet cleaner robot, are particularly useful because they can absorb light moisture and leave the surface dry. Setting the robot to pass over the area ensures any leftover dampness is handled efficiently. Since the heavy mess and disinfecting have already been managed by you, the robot only needs to focus on fine cleaning. This division of effort makes the process smoother, giving you both hygiene assurance and time savings without overburdening the machine. To make sure your cleaning experience stays hassle-free even if issues arise, its worth noting that Bobsweep customer service is often praised for its quick responses and willingness to help users resolve technical or maintenance concerns efficiently.
Step 4: Post-Cleanup Machine Sanitization
After the robot has assisted, it is crucial to clean the device itself. Remove the mop pad or cloth attachment and rinse it thoroughly with warm water and mild soap. Empty and rinse the water tank, if your robot uses one, to avoid bacterial buildup. Wipe down the robot’s underside to remove any remaining residue. Sanitizing your robot after exposure to pet accidents ensures it is ready for its next use without spreading germs around your home. Skipping this step may lead to odors, mechanical issues, or cross-contamination in other areas of your house.
Smart Features to Minimize Risks
No-Go Zones for Accident-Prone Areas
One of the smartest features modern robots offer is the ability to define no-go zones. For pet owners, this can be especially valuable in areas where accidents are more likely to occur, such as near litter boxes, feeding stations, or favorite napping corners. By mapping out these zones in your robot’s companion app, you reduce the risk of the device encountering messes directly. It also helps you gain peace of mind knowing the robot won’t unintentionally create a bigger problem. Over time, adjusting these no-go zones based on your pet’s habits can make your cleaning routine much more reliable.

Scheduling Cleanings to Avoid Direct Contact
Another practical feature is scheduling. By setting your robot to clean at times when you are home, you can quickly intervene if your pet has an accident. For example, running the robot in the late evening after walks or in the morning after feeding reduces the chance of encountering fresh messes. Being able to time cleanings means your floors stay tidy without leaving everything up to chance. This small adjustment helps you make the most of automation while staying attentive to your pet’s routine. When used wisely, scheduling reduces risks and maximizes convenience.
Essential Post-Cleanup Maintenance
Routine maintenance after any accident-related cleaning is vital for extending the life of your robot. In addition to sanitizing, check filters, brushes, and wheels for residue that could cause blockages or wear. Replace disposable parts like mop pads regularly to ensure effectiveness. Running a quick self-test or cycle after washing the components confirms everything is working smoothly. A few minutes spent on maintenance can save you costly repairs and provide confidence that your machine will be ready for everyday tasks. Think of it as giving your robot a quick check-up after a demanding job.
Conclusion
Pet accidents can be managed effectively with the help of your robot vacuum. Begin by manually removing solid waste and applying pet-safe disinfectant. Then, use your robot to handle any remaining moisture. Take advantage of smart features like no-go zones and scheduling to enhance control, and maintain your device regularly to ensure performance. This approach doesn’t replace your care—it complements it. With consistent habits, you and your robot can work together to maintain a clean and welcoming home, even with pets.